Crafting Your Own Outdoor Sauna: A Step-by-Step Journey
Creating your own outdoor sauna is a rewarding project that can enhance your wellness routine and provide a relaxing retreat right in your backyard. Whether you're a seasoned DIY enthusiast or a beginner looking for a new challenge, this step-by-step guide will help you bring your sauna dreams to life.
Step 1: Select the Perfect Spot
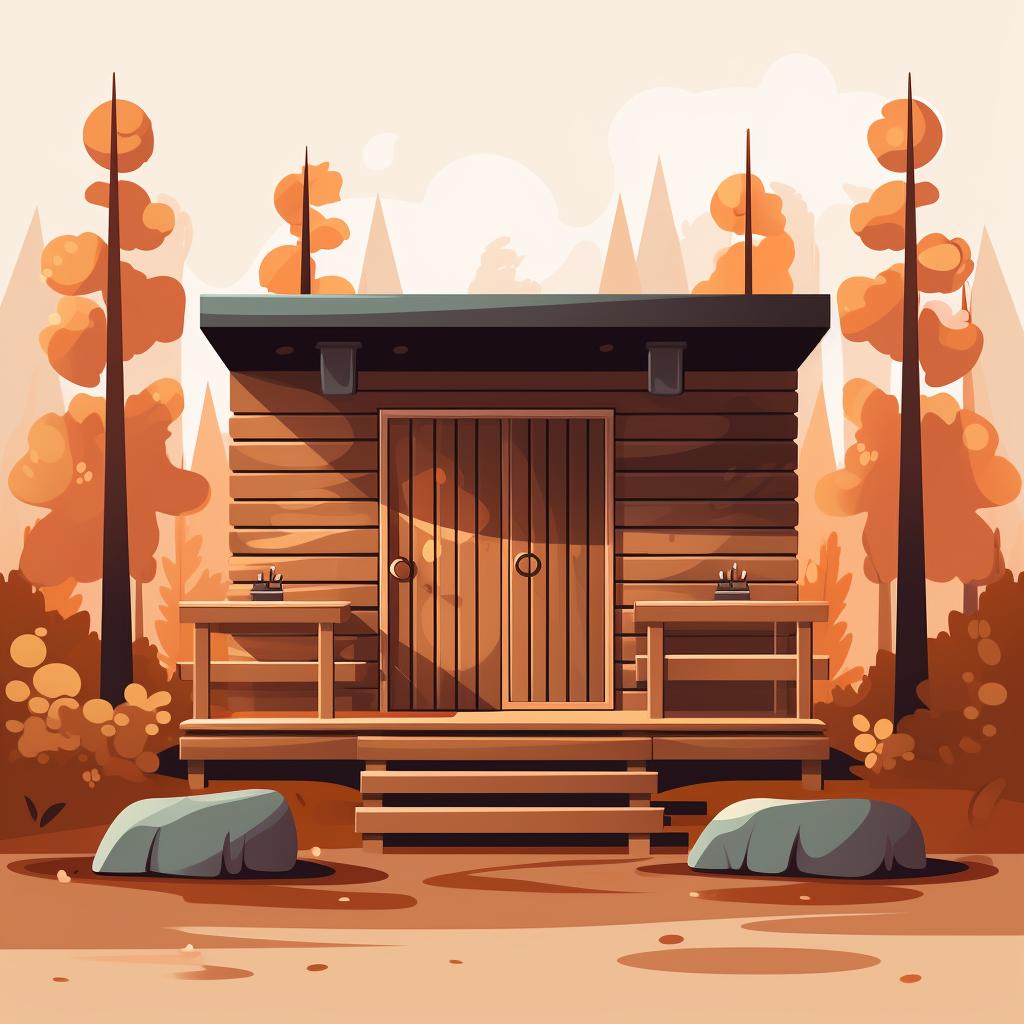
The first step in building your outdoor sauna is finding the ideal location. Look for a flat area with good drainage that is easily accessible from your house. Consider privacy and the view from your sauna to create a serene and inviting atmosphere.
Step 2: Design Your Sauna
Once you've chosen the spot, it's time to design your sauna. Consider the size and layout that will best suit your needs. Think about the number of people who will use it at a time and the type of sauna you prefer, whether it's wood-fired, electric, or infrared. You can also plan for additional amenities like a changing room or shower. For detailed plans on building a small outdoor sauna, check out this resource.
Step 3: Gather Your Materials
With your design in mind, compile a list of materials you'll need for your sauna project. Common materials include cedar wood for the interior, insulated walls, a sauna heater, rocks, and benches. Make sure to gather everything before you start construction to ensure a smooth process. Learn more about gathering sauna building materials in this guide.
Step 4: Build the Foundation
The foundation is the base of your sauna, so it's important to build it properly. Depending on your preference, you can choose a concrete slab, a wooden platform, or a compacted gravel base. Consider the stability and durability of the foundation to ensure the longevity of your sauna. For a beginner's guide to DIY outdoor sauna kits, check out this resource.
Step 5: Construct the Walls and Roof
Once the foundation is in place, it's time to construct the walls and roof of your sauna. Insulation is key to retaining heat, so make sure to choose materials that will provide adequate insulation. Install the door and any windows you've planned for, allowing natural light to filter in.
Step 6: Install the Heater
The sauna heater is the heart of your sauna, so it's crucial to install it correctly. Follow the manufacturer's instructions to ensure proper installation and ventilation. Create a suitable area for the sauna stones, which will help generate the heat and steam that make saunas so rejuvenating. If you're interested in building your own dry sauna at home, check out this guide.
Step 7: Finish the Interior
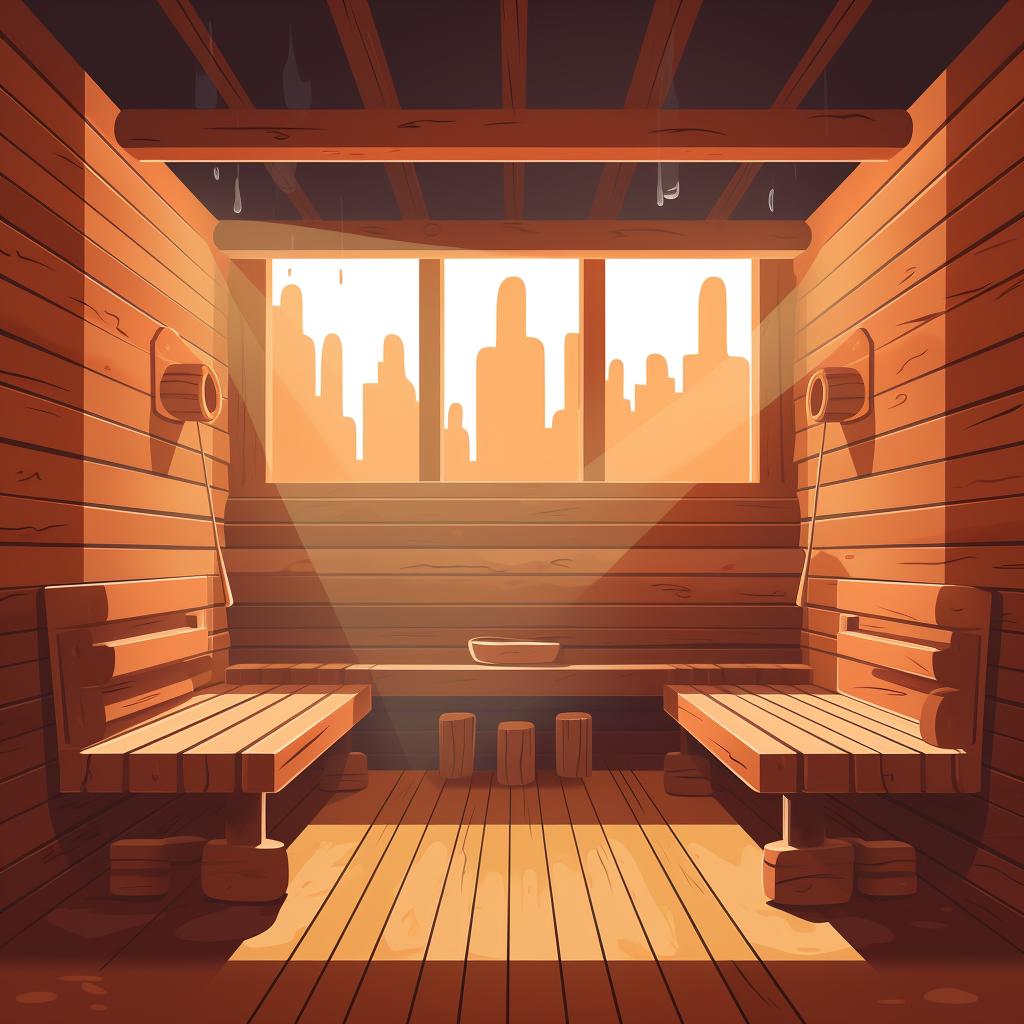
Now it's time to add the finishing touches to the interior of your sauna. Install cedar cladding, known for its heat-resistant properties, to create a cozy and inviting atmosphere. Add benches, lighting, and any other interior features you've planned for to make your sauna a comfortable space to unwind. For tips on creating a sauna atmosphere at home, check out this guide.
Step 8: Test and Enjoy!
With everything in place, it's time to test your sauna and enjoy the fruits of your labor. Heat it up, adjust the temperature as necessary, and bask in the soothing warmth of your very own outdoor wellness retreat. Embrace the relaxation and health benefits that saunas offer, right in the comfort of your own backyard.
Building your own outdoor sauna is a rewarding journey that allows you to create a personal oasis of relaxation and wellness. By following these step-by-step instructions, you'll be well on your way to enjoying the benefits of sauna therapy in the comfort of your own home. So, roll up your sleeves and embark on this exciting project today!


